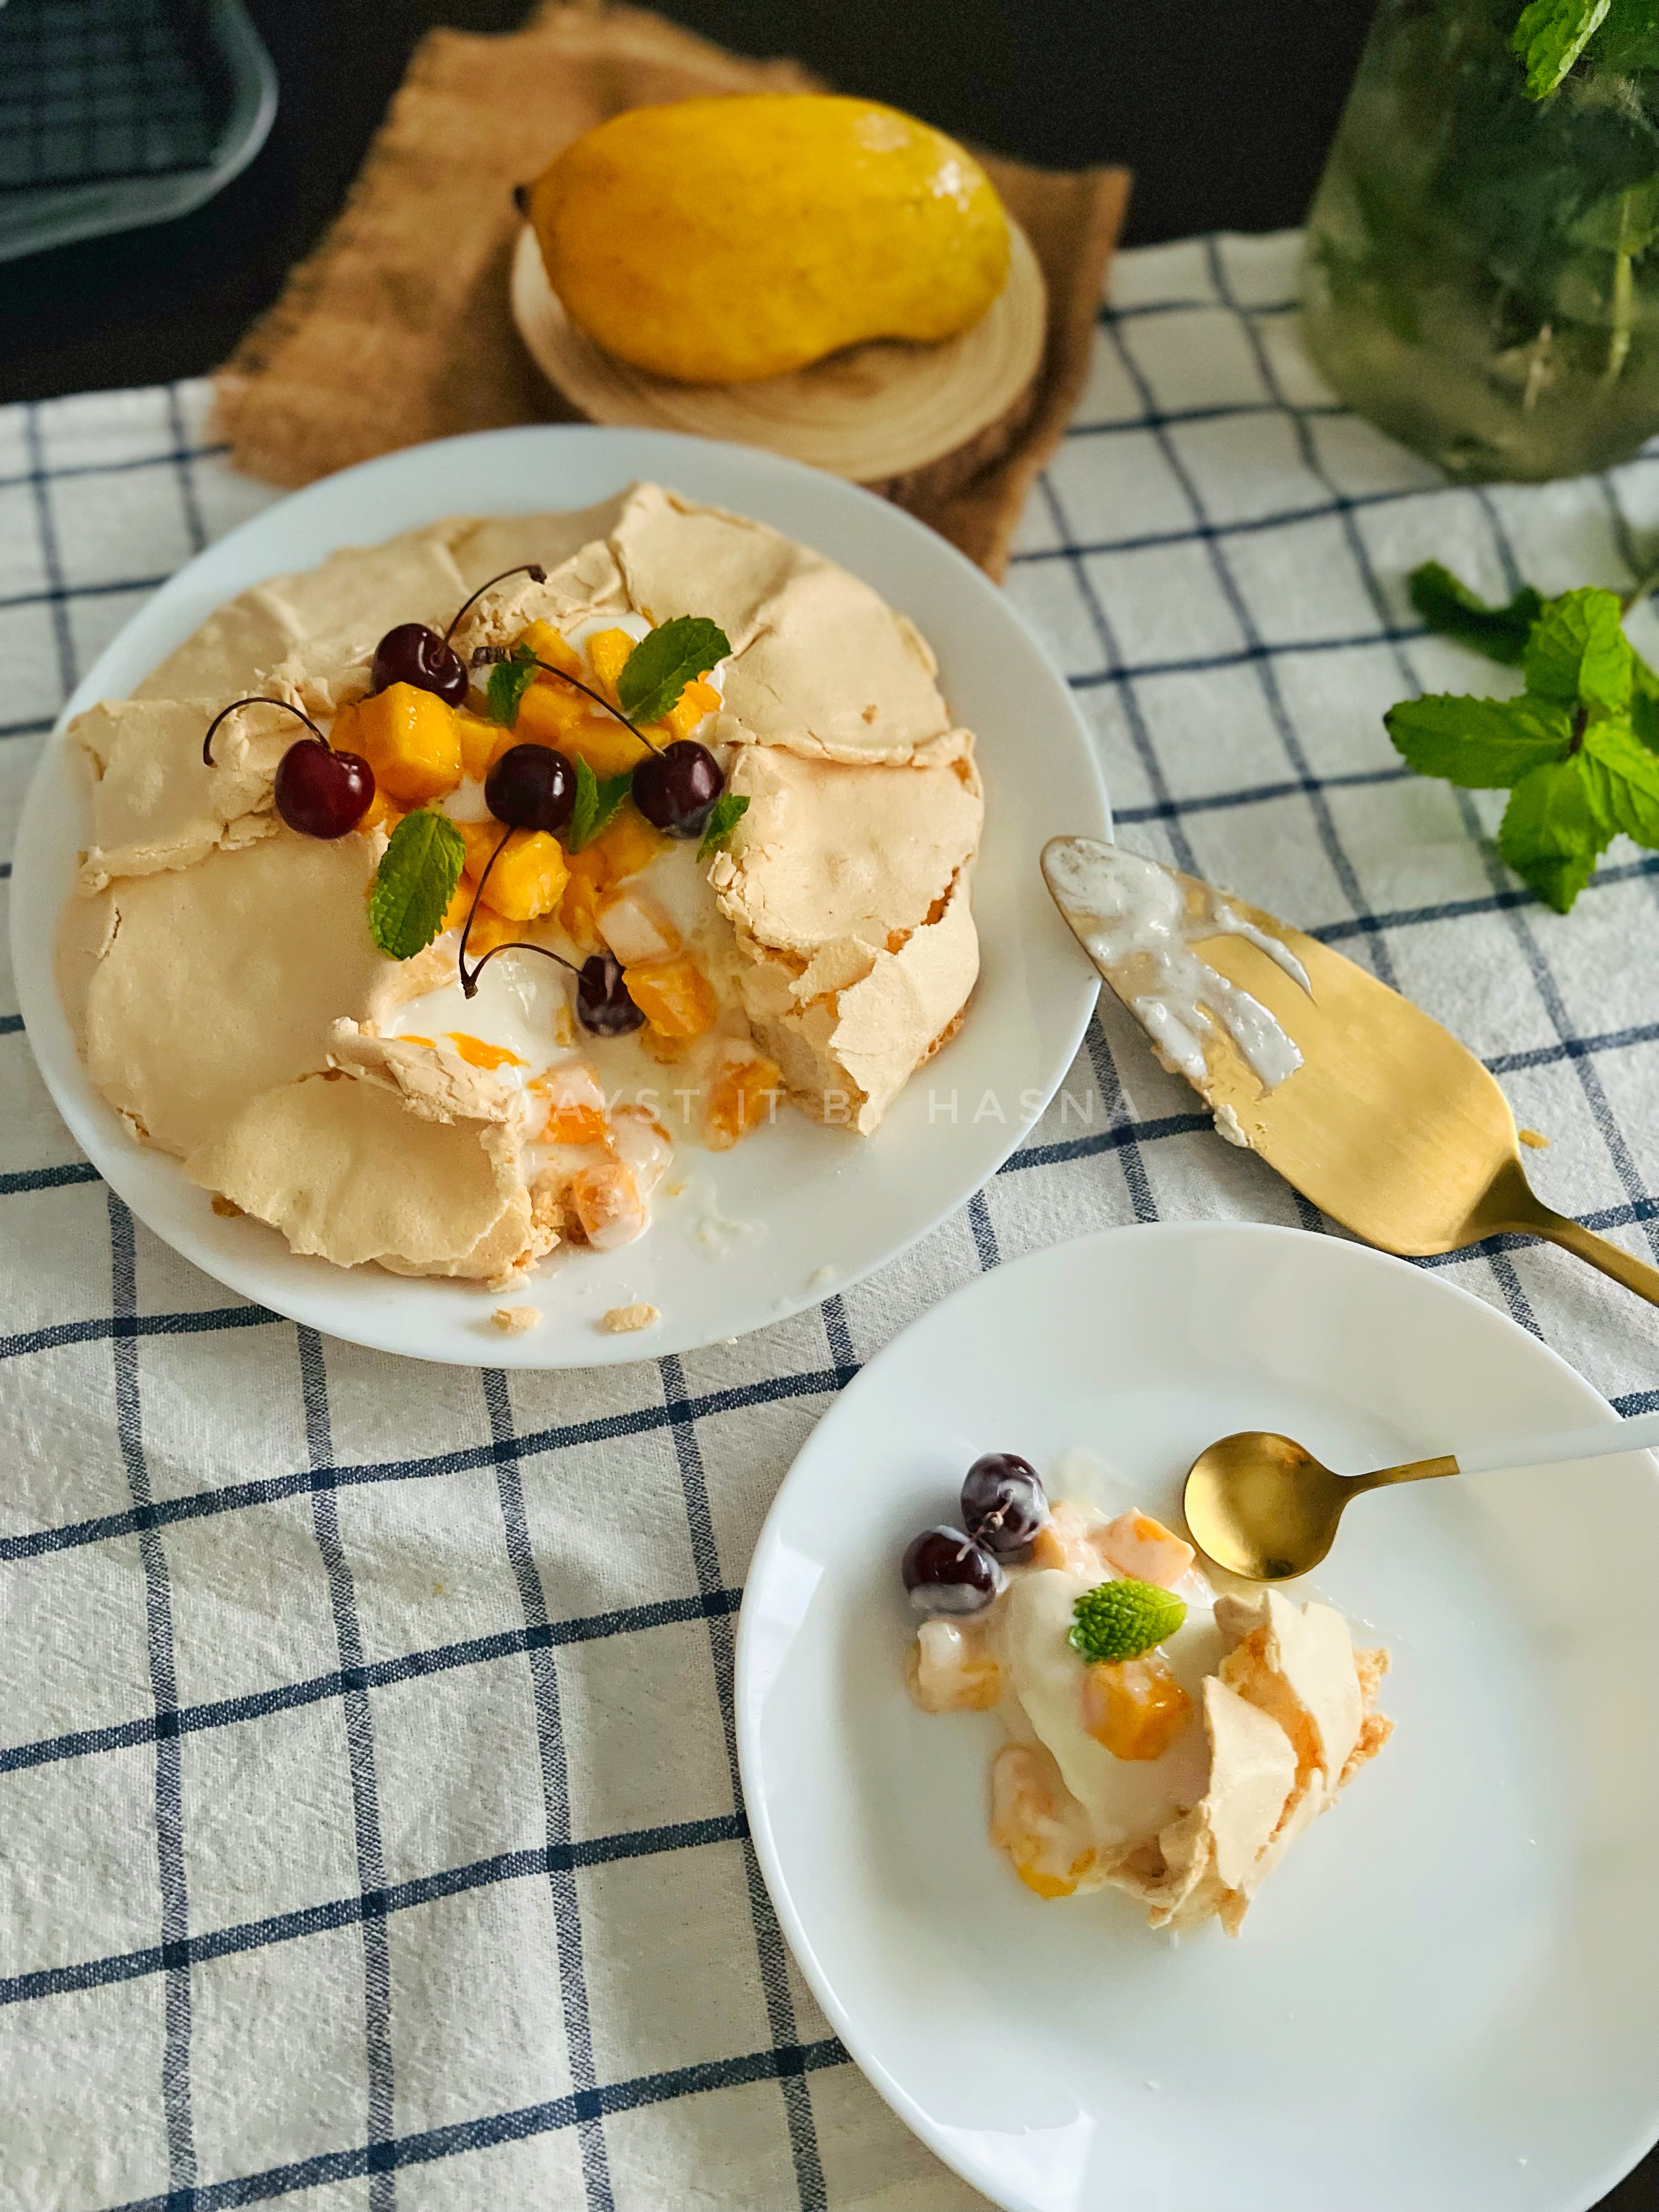
Rose Kunafa Cream Pudding


Eid is just around the corner and we are all going to witness for the first time in our lives, the most different eid. Who would have even thought that we wouldn't be going to the mosques on the morning of eid this year? That feeling of happiness after the eid prayer is simply bliss. Now after the eid prayers we often visit our relatives which is so much fun! I know we never expected this to happen, but Qadr Allahumaa sha faa'la (It is the decree of Allah and He does as He wills). But this does remind us to not take things for granted and to stay home and be safe.


What better way to cheer up our folks with some delightful dessert/ pudding experience?! On the eid day it is mandatory to have some sweet/ dessert after the 'mega eid lunch'.. and of course the star is always the mutta maala (traditional thread-like dessert made of eggs also called egg necklace). Mutta maala is customary to be made on eid. Now being a foodie, I like to serve a dessert too that is mostly indulged after a nap session, haha. (Come on! How much food can our tummies take in right after fasting for a month, teehee) So I thought to share a dessert recipe with you guys! I mean come on! How many of us do not like desserts? especially on Eid?


Well, I am here to share the perfect show stopper for your eid spread! I couldn't wait to develop this recipe that has been in my mind. Now to put what is in your mind to action, is not easy! I looooove kunafa, I mean, who doesn't? Lately, I have been seeing a lot of rose dalgona which inspired me to try this! Thanks to @tableforfive for that! Also another inspiration was the popular mesh umm ali from @cleobuttera that made me try kunafa dough this way. They never cease to blow your mind with their food pictures! Now, coming back to the pudding, as I said I love kunafa, and rose dalgona in trending during ramadan too! So I wanted a bit of both; something crunchy at the same time creamy and with a hint of rose. So I immediately began working on the idea.
Basically, this was an experiment and alhamdulilah it tastes soooo good! Exaclty like I wanted it! Playing with textures is my thing. But the kunafa layer came out perfect and I forgot a huge step, to butter my baking dish, so the kunafa wouldn't budge! My initial plan was to make a rose cream and allow to set and place the sweetened kunafa as the second layer. Now since that the kunafa layer wouldn't budge, I had to pour the rose cream as the second layer. Tasted great! But I would prefer to keep the kunafa layer as the top layer, the next time I make these!
Now if you dont have kunafa you may do the same recipe, by frying the bread in some ghee+oil.
Without further a do, let's prepare this yumm Rose Kunafa Cream Pudding 🍨

Ingredients:
For baking Kunafa :
- 1/2 package or less kunafa dough (as much as you can fit in one layer of your baking dish)
- 4 tbsp Pure ghee
- 1/4 - 1/2 cup condensed milk
- 1/4 cup Whipping cream
For the rose cream:
- 1 cup Whipping cream
- 2 tbsp rose syrup
- 1/4 cup condensed milk
For Garnishing
- Slivered Pistachios
- Dried Rose Petals
Instructions:
- Preheat your oven to 200°C and butter your baking dish, I used 9 by 7 inch baking dish.
- Place the kunafa dough lengthwise and fill in as tightly as possible.
- Apply ghee evenly over all areas using a brush.
- Bake in a preheated oven 200°C for 20 minutes until golden and crisp.
- Next, pour the condensed milk and heavy cream /Whipping cream over the baked Kunafa and bake again for 5 minutes until the kunafa becomes crisp again.
- Now in a large bowl, whip the cream until medium stiff peaks and add the rose syrup and condensed milk and fold gently.
- Pour this rose cream over the baked Kunafa layer and place it in the refrigerator for 2-3 hours until set or place in the freezer for 1/2 an hour. * (check notes)
- Garnish with slivered pistachios and dried Rose Petals.
Notes:
- I would recommend to set the whipped rose cream in a similar pudding dish and place the baked sweet Kunafa for better crunch and texture. I forgot to apply butter hence I had to pour the rose cream over the kunafa layer.
- Once the rose cream is set, place the kunafa layer just before serving so that the crunchiness is retained.
- If you want to use the rose cream as the top layer you may use sliced bread that is fried in ghee+oil for the base, also a great substitute for kunafa.
- I used a glass baking dish to show the layers as this was an experiment. Use a ceramic baking dish if you have one.
- Line the dish with baking paper for easier handling of the sweet Kunafa.
- Be careful not to over pour Whipping cream while baking Kunafa, just a tad bit will do.
- You may alternatively crush the baked Kunafa slightly with clean and dry hands and layer in mini dessert bowls with slightly crushed Kunafa layer being the first then the cream and again the Kunafa layer.
- If you do not have rose syrup, you may use a dash of rose water and red food color, but I wouldn't recommend it coz the pudding would turn runny and also wouldn't taste as good. (had to put down since it's a FAQ)
- Different ovens have different temperature, keep in mind not to bake for too long after you add Condensed milk to your baked Kunafa, this will result in a hard layer.
Do try this recipe and don't forget to share your experience/feedback with me here in the comments or feel free to send me a mail. Also, do tag me at #taystedit if you try out my recipes on Facebook, Instagram etc so that I can see when you make it. ♡♡♡♡