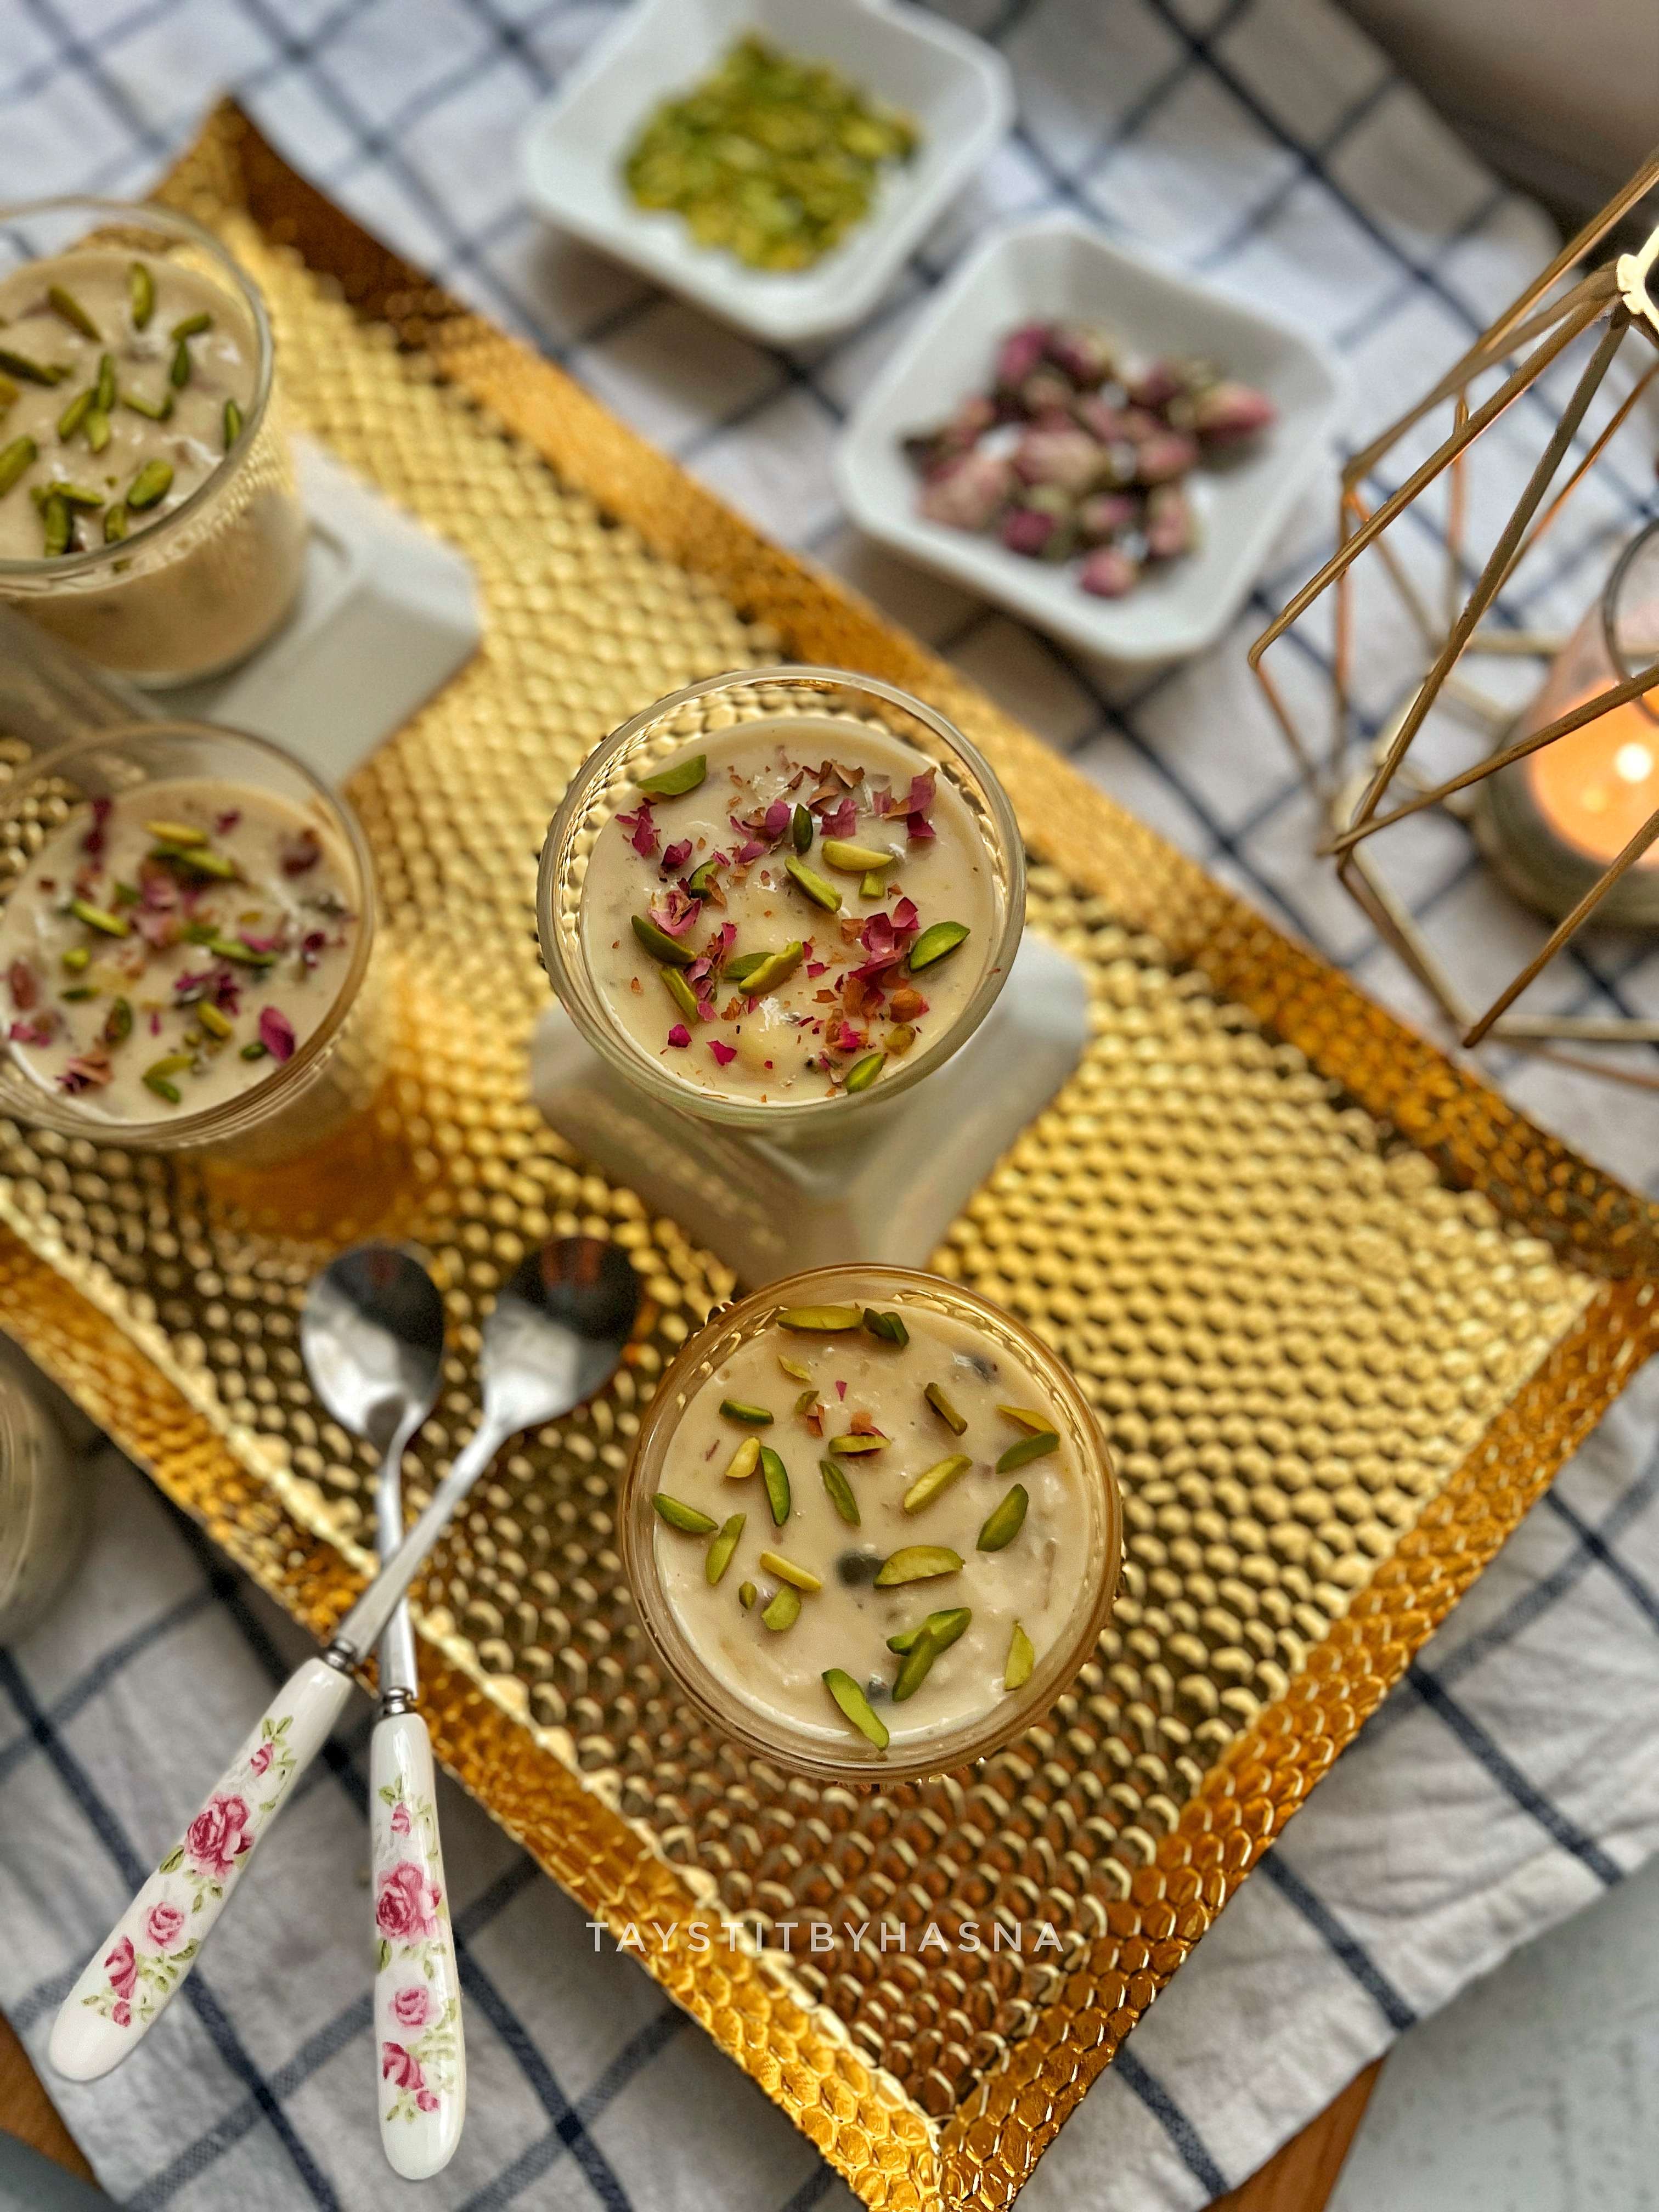
Kulfi Mahalabia/ Muhallebi

Eid is around the corner. Here I am sharing an Indo Arab fusion dessert, fusion is my speciality.😉 Mahalabia also known as Muhallebi is a middle eastern milk pudding , thickened using corn flour and garnished with nuts and rose petals. I usually do not like corn flour as a setting agent in desserts, so I used a bit of China grass/agar agar as I like the consistency of it. Malai kulfi is an Indian frozen dessert/ice cream where milk is reduced and chopped nuts are added to it and perfumed using strands of saffron and/ cardamom powder. By now you know my love for pistachios and roses. Teehee. Anything that has nuts just takes the flavors to next level and adds to the crunchiness.
Here I have used evaporated milk and cream for added kulfiness 😜😁 you may completely avoid them, they still taste delishaaas. Serve cold for that 'kulfi effect'.
With ingredients that are available in most homes, you definitely need to try Kulfi Mahalabia for Eid Al Fitr. It is so creamy and so full of flavor. 😋👌
Ingredients: (Makes 5 servings)
- 2 - 3 gms China Grass/ agar agar
- 500 ml Full Cream Milk
- 30 gms Chopped Almonds
- 30 gms Chopped Pistachios
- 1/2 cup Condensed milk
- 1/4 cup Evaporated Milk(optional)
- 3 or 4 strands of saffron
- 1/4 tsp Cardamom powder
- 1 tbsp Corn Flour
- 2 tbsp Cold milk
- 3 tbsp Thick cream (optional)
Instructions :
- Soak the china grass in 5 tbsp water and set aside.
- Bring milk to boil and reduce the quantity of milk to half.
- Melt the china grass after 10 minutes of soaking.
- Meanwhile, while China grass melts, to your reduced milk add in evaporated milk (optional), Condensed milk, chopped almonds, chopped pistachios, cardamom powder and saffron strands.
- Let everything come to a boil so that the flavors from all the ingredients will give the Kulfi flavor. The colour of the milk will now change to a creamish shade.
- Make corn flour slurry with cold milk and pour the slurry to the Kulfi mixture while stirring constantly.
- Next add in the melted China grass and thick cream (optional), mix well.
- Now pour ladlefuls to your serving bowls/cups and allow to cool for 10 minutes and allow to set in the refrigerator for 2-3 hours.
- Garnish with slivered pistachios and rose petals. Your Kulfi mahalabia is now ready to enjoy! 😋