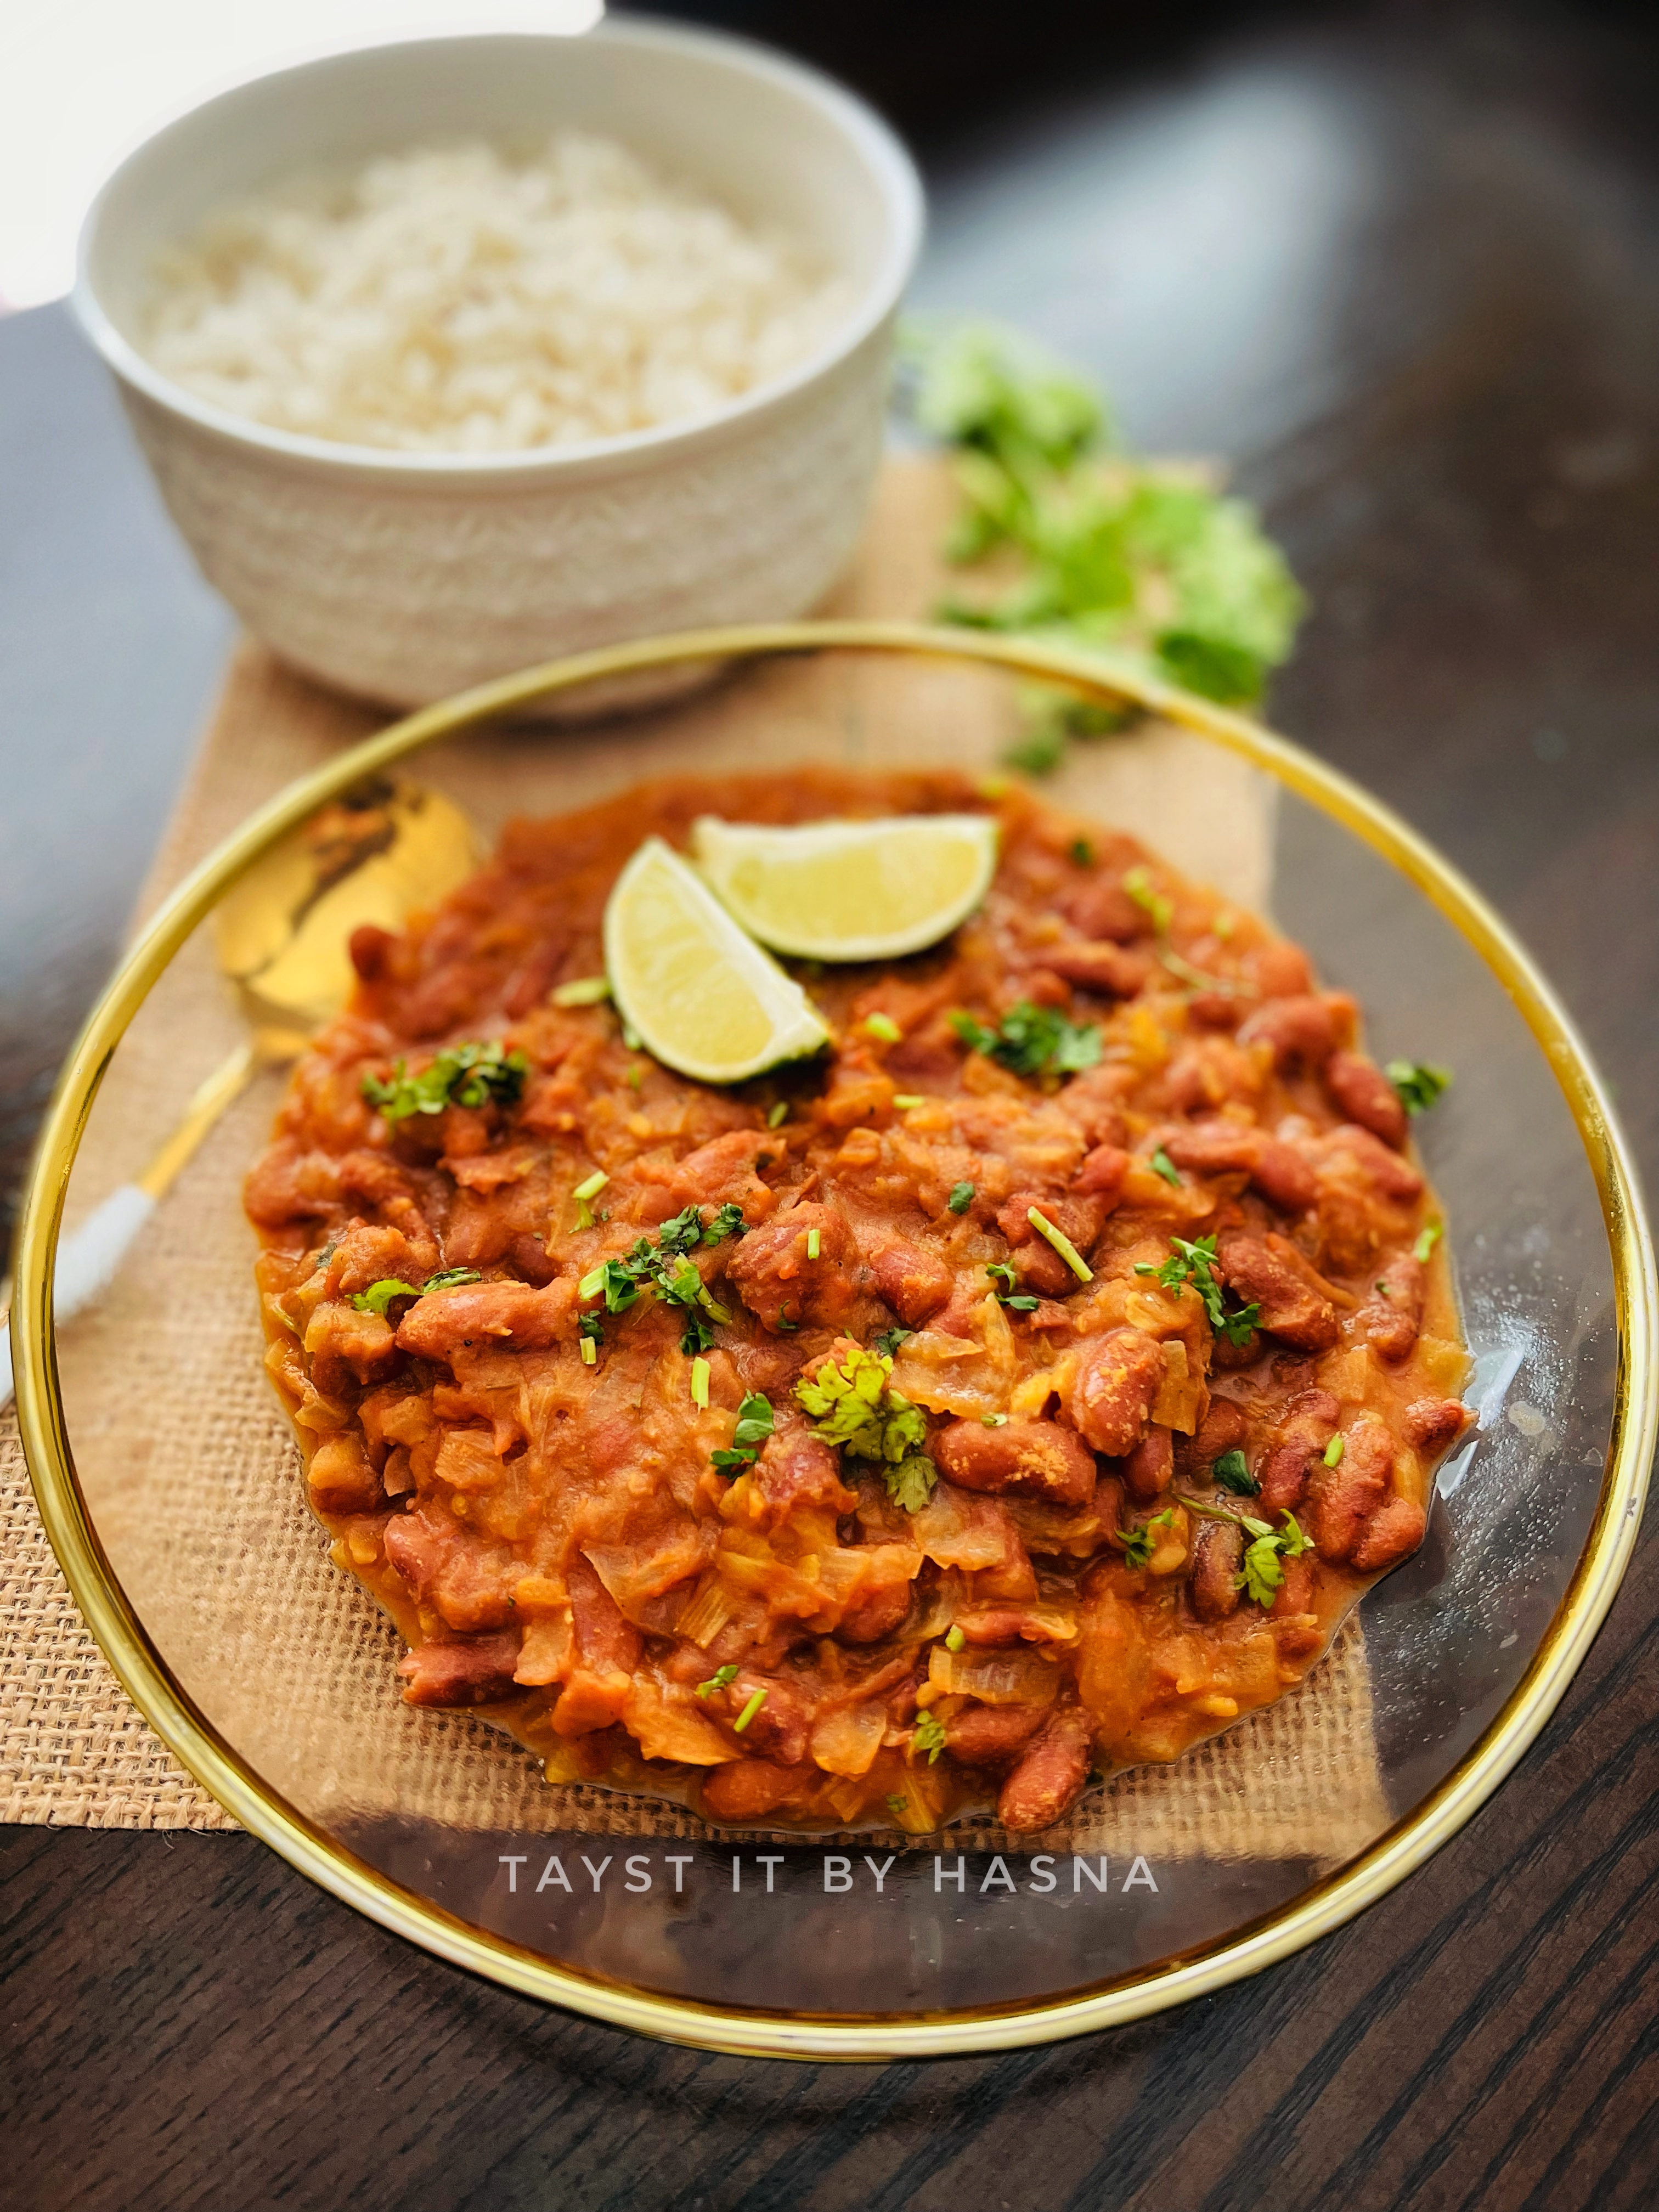
Malabar Style Crab Curry

Seafood is my weakness and one among my favorites is Crab. There are varities of recipes of crabs on the internet, but let me tell you, the Kerala style preparations maximizes the potential of the flavor from the crab, making the curry delectable.
This Malabar Style Crab Curry can be enjoyed along with rice, chappati, paratha etc. I find it that, if you directly freeze crab, the flesh melts away when you defrost it. So, the first thing I like do is, to cook the crab in turmeric powder, chilli powder, garlic paste and salt in a splash of water, cook covered for around 6 minutes maximum. Once cooled, you can store in the refrigerator and use it in 3-4 days.
The spiced and ground coconut paste is added along with the cooked crabs (along with its stock). This recipe is such a keeper. A recipe that is nostalgic to me. <3

Ingredients:
- 1/2 of an Onion, sliced
- 1 Tomato, chopped
- 3 Green Chillies, slit
- Curry leaves
- 1 tsp Ginger Garlic paste
- 1 cup Shredded Coconut
- 1/4 tsp Turmeric powder
- 1 tsp Kashmiri Chilli powder
- 2 tsp Coriander Powder
- 1/2 tsp Fennel Seeds
- 1/4 - 1/2 cup water
- 1 small lemon sized Tamarind ball soaked in 1/4 cup warm water
- Cooked Crab*
- 4 tbsp Coconut oil
- 1 tsp Mustard Seeds
- Curry leaves
- Salt, as required

Instructions:
- In a mud pot / Chatti, pour in Coconut oil and add in your sliced onion, sauté until translucent and add in your curry leaves.
- Next add the ginger garlic paste and sauté.
- Add salt as required and your chopped tomatoes and slit green Chillies.
- Cover and allow the tomatoes to mash, meanwhile prepare the coconut paste by grinding shredded coconut with the spice powders and fennel seeds with little water and grind well to a thick paste.
- Pour the coconut paste to the mashed tomatoes and strain the tamarind water and add to the gravy and mix everything well.
- Finally add in your cooked crab or raw crab, and allow to cook for 6-7 minutes if raw, or if cooked around 3-4 minutes.
- Check if salt required and finally prepare a tadka with mustard seeds and curry leaves on coconut oil.
- Enjoy warm with rice, chappati or paratha.

* cook the crab in turmeric powder, chilli powder, garlic paste and salt in a splash of water, cook covered for around 6 minutes maximum. Once cooled, you can store in the refrigerator and use it in 3-4 days.