Search This Blog

Taystit by Hasna

Food, Recipes, and Beyond

  • Home
  • About Me
  • Recipes
    • Main Course
    • Snacks
    • Desserts
  • Uncategorized
    • Chicken
    • Meat
    • Vegetarian
    • Rice
    • Malabar Food
    • Baking
    • Breakfasts
    • Snacks
    • Fish
    • Pasta
    • Drinks
    • Soups
    • Desserts
  • Contact Me

 Kethel's Chicken


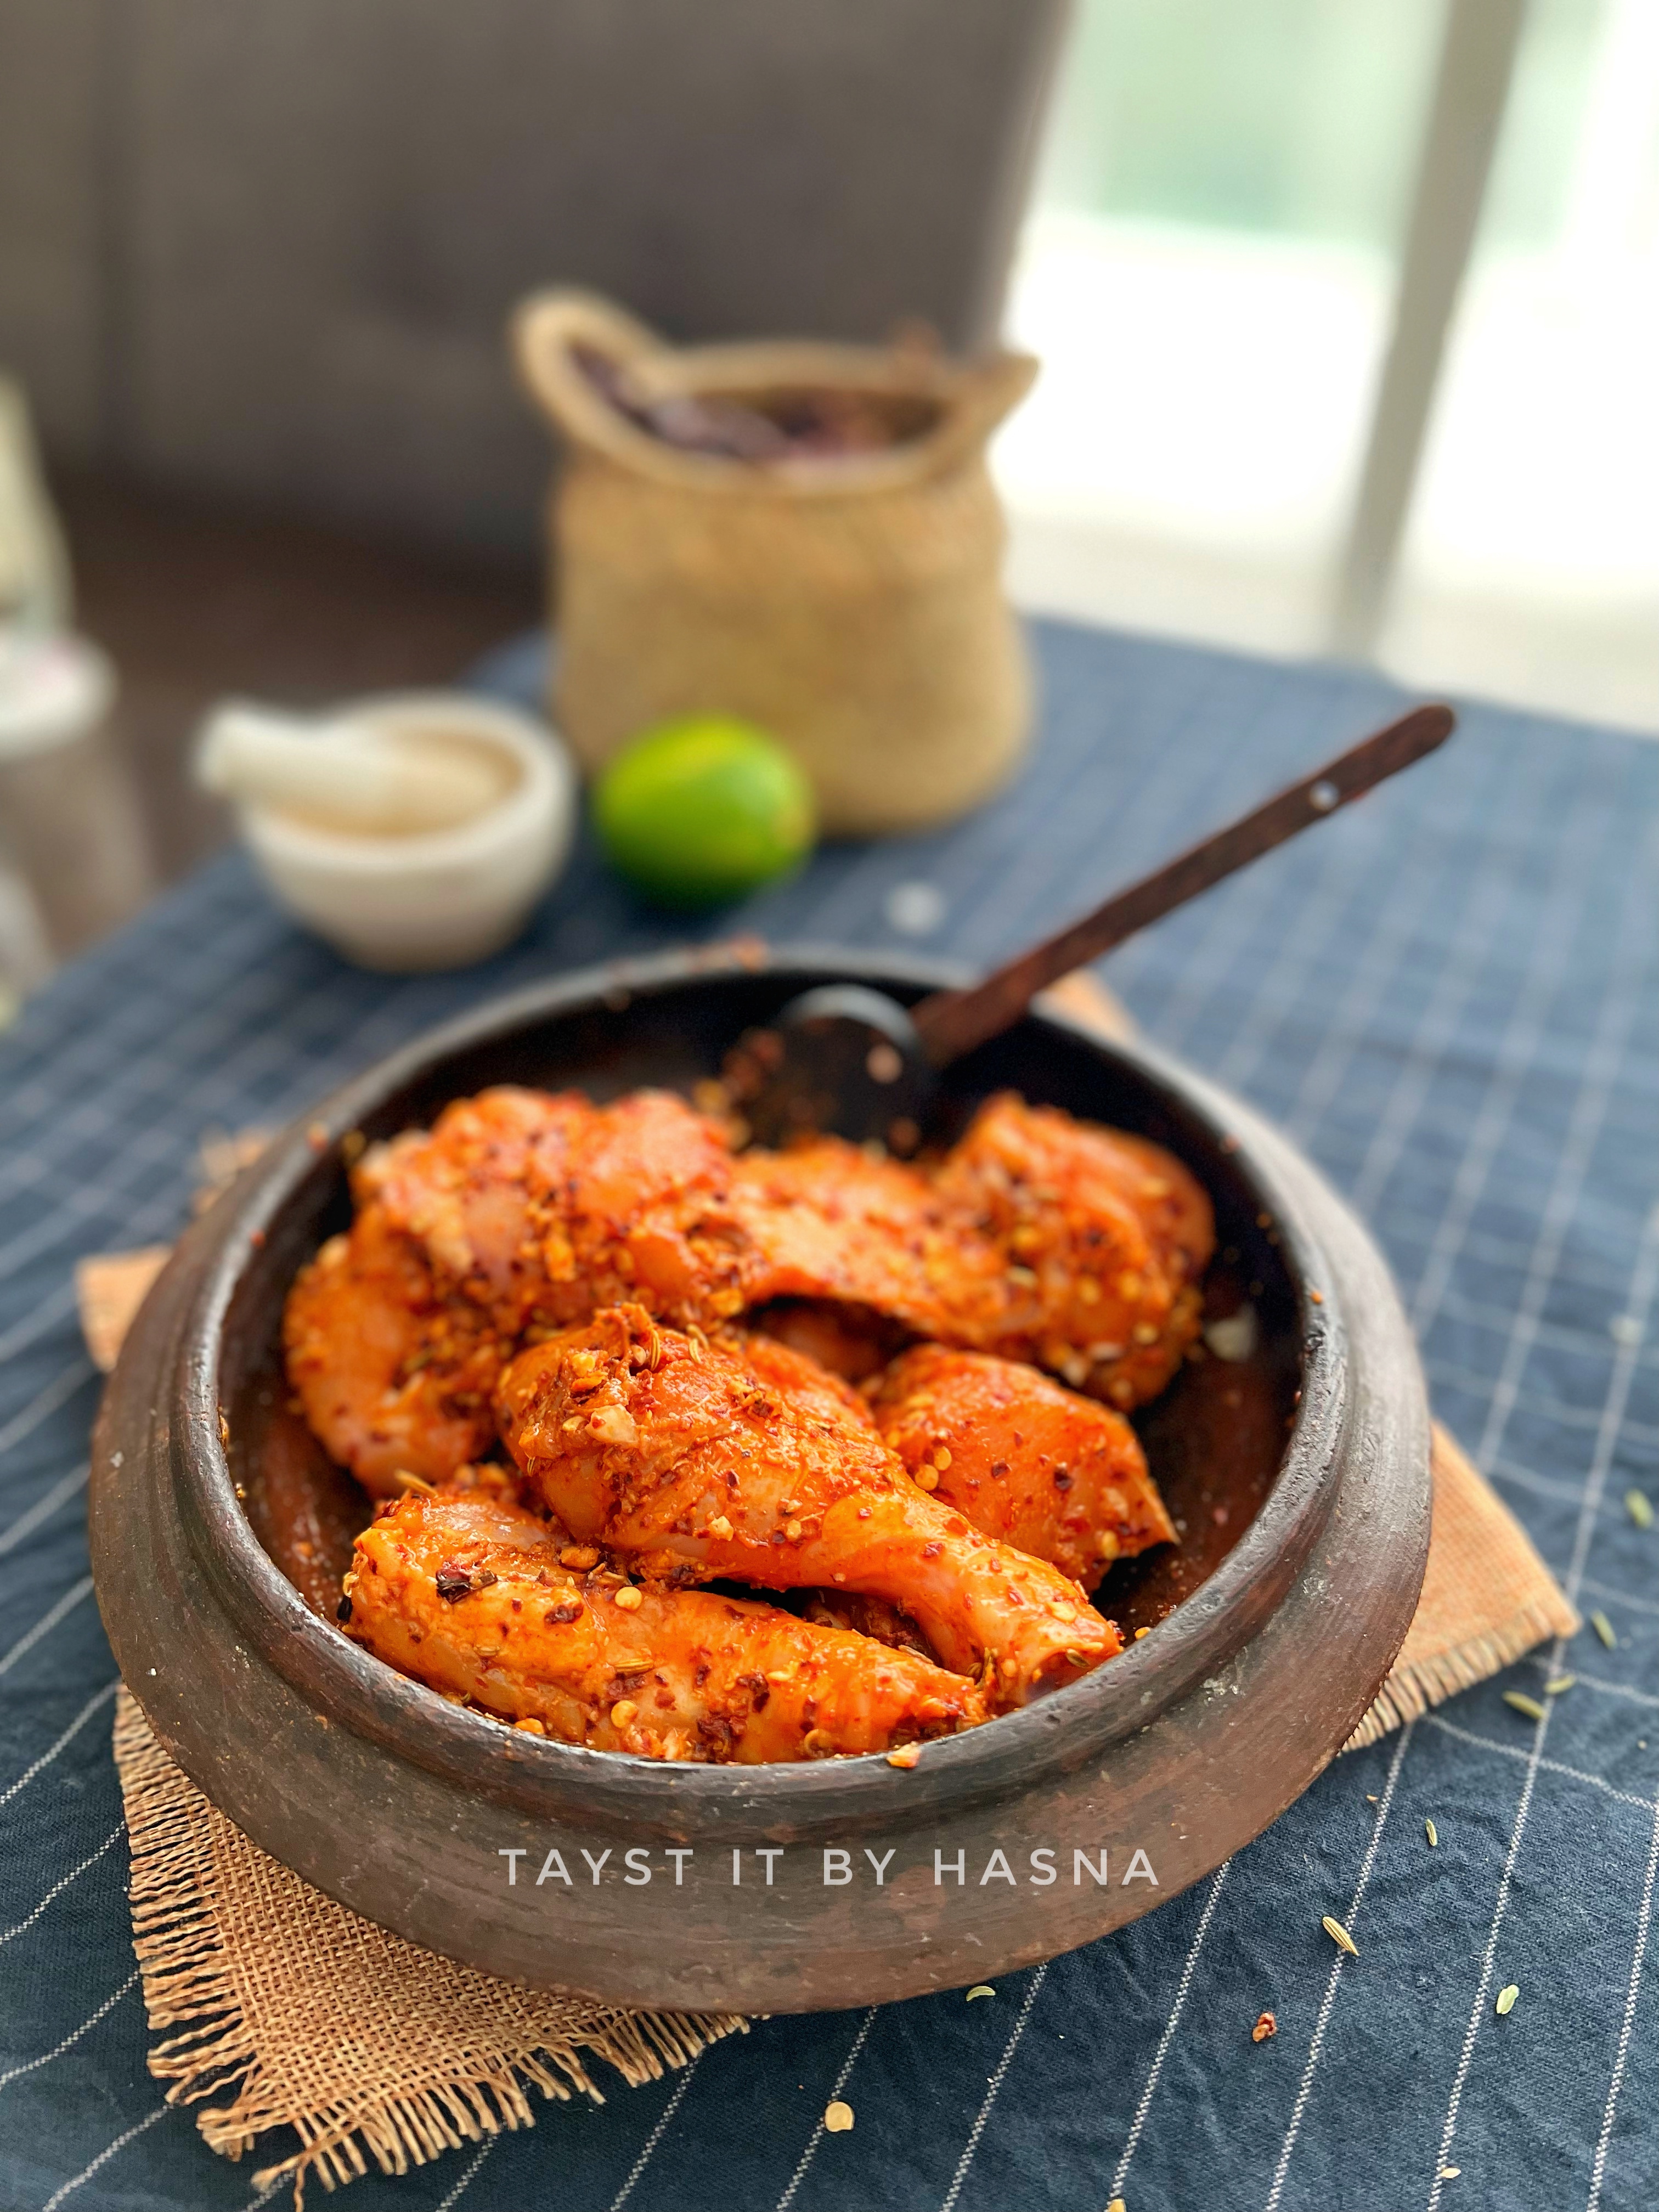
Who doesn't love a good fried chicken? Well, this one is an invention that can be exclusively found in Hotel Rahmaniya, Kerala. They have many branches in Kerala, and I have been to the Cochin outlet and we love it! It’s super fiery, so make sure you ask for the lemonade that they serve that makes the combo extra special 🔥 Kethel's chicken is usually prepared with spring chicken (the young bird), this makes it more delicious and succulent, giving it the best flavor. Here, I have used normal chicken pieces, you may use spring chicken pieces preferably.

The chicken pieces are marinated in a special spice blend using ingredients like dried Kashmir Chilies (these chillies are not spicy), rock salt, etc. A part of the spice blend is reserved to fry at the end of the frying process. The chicken is then kept for marination half an hour or overnight. Of course, this is just my version of Kethel's chicken :D

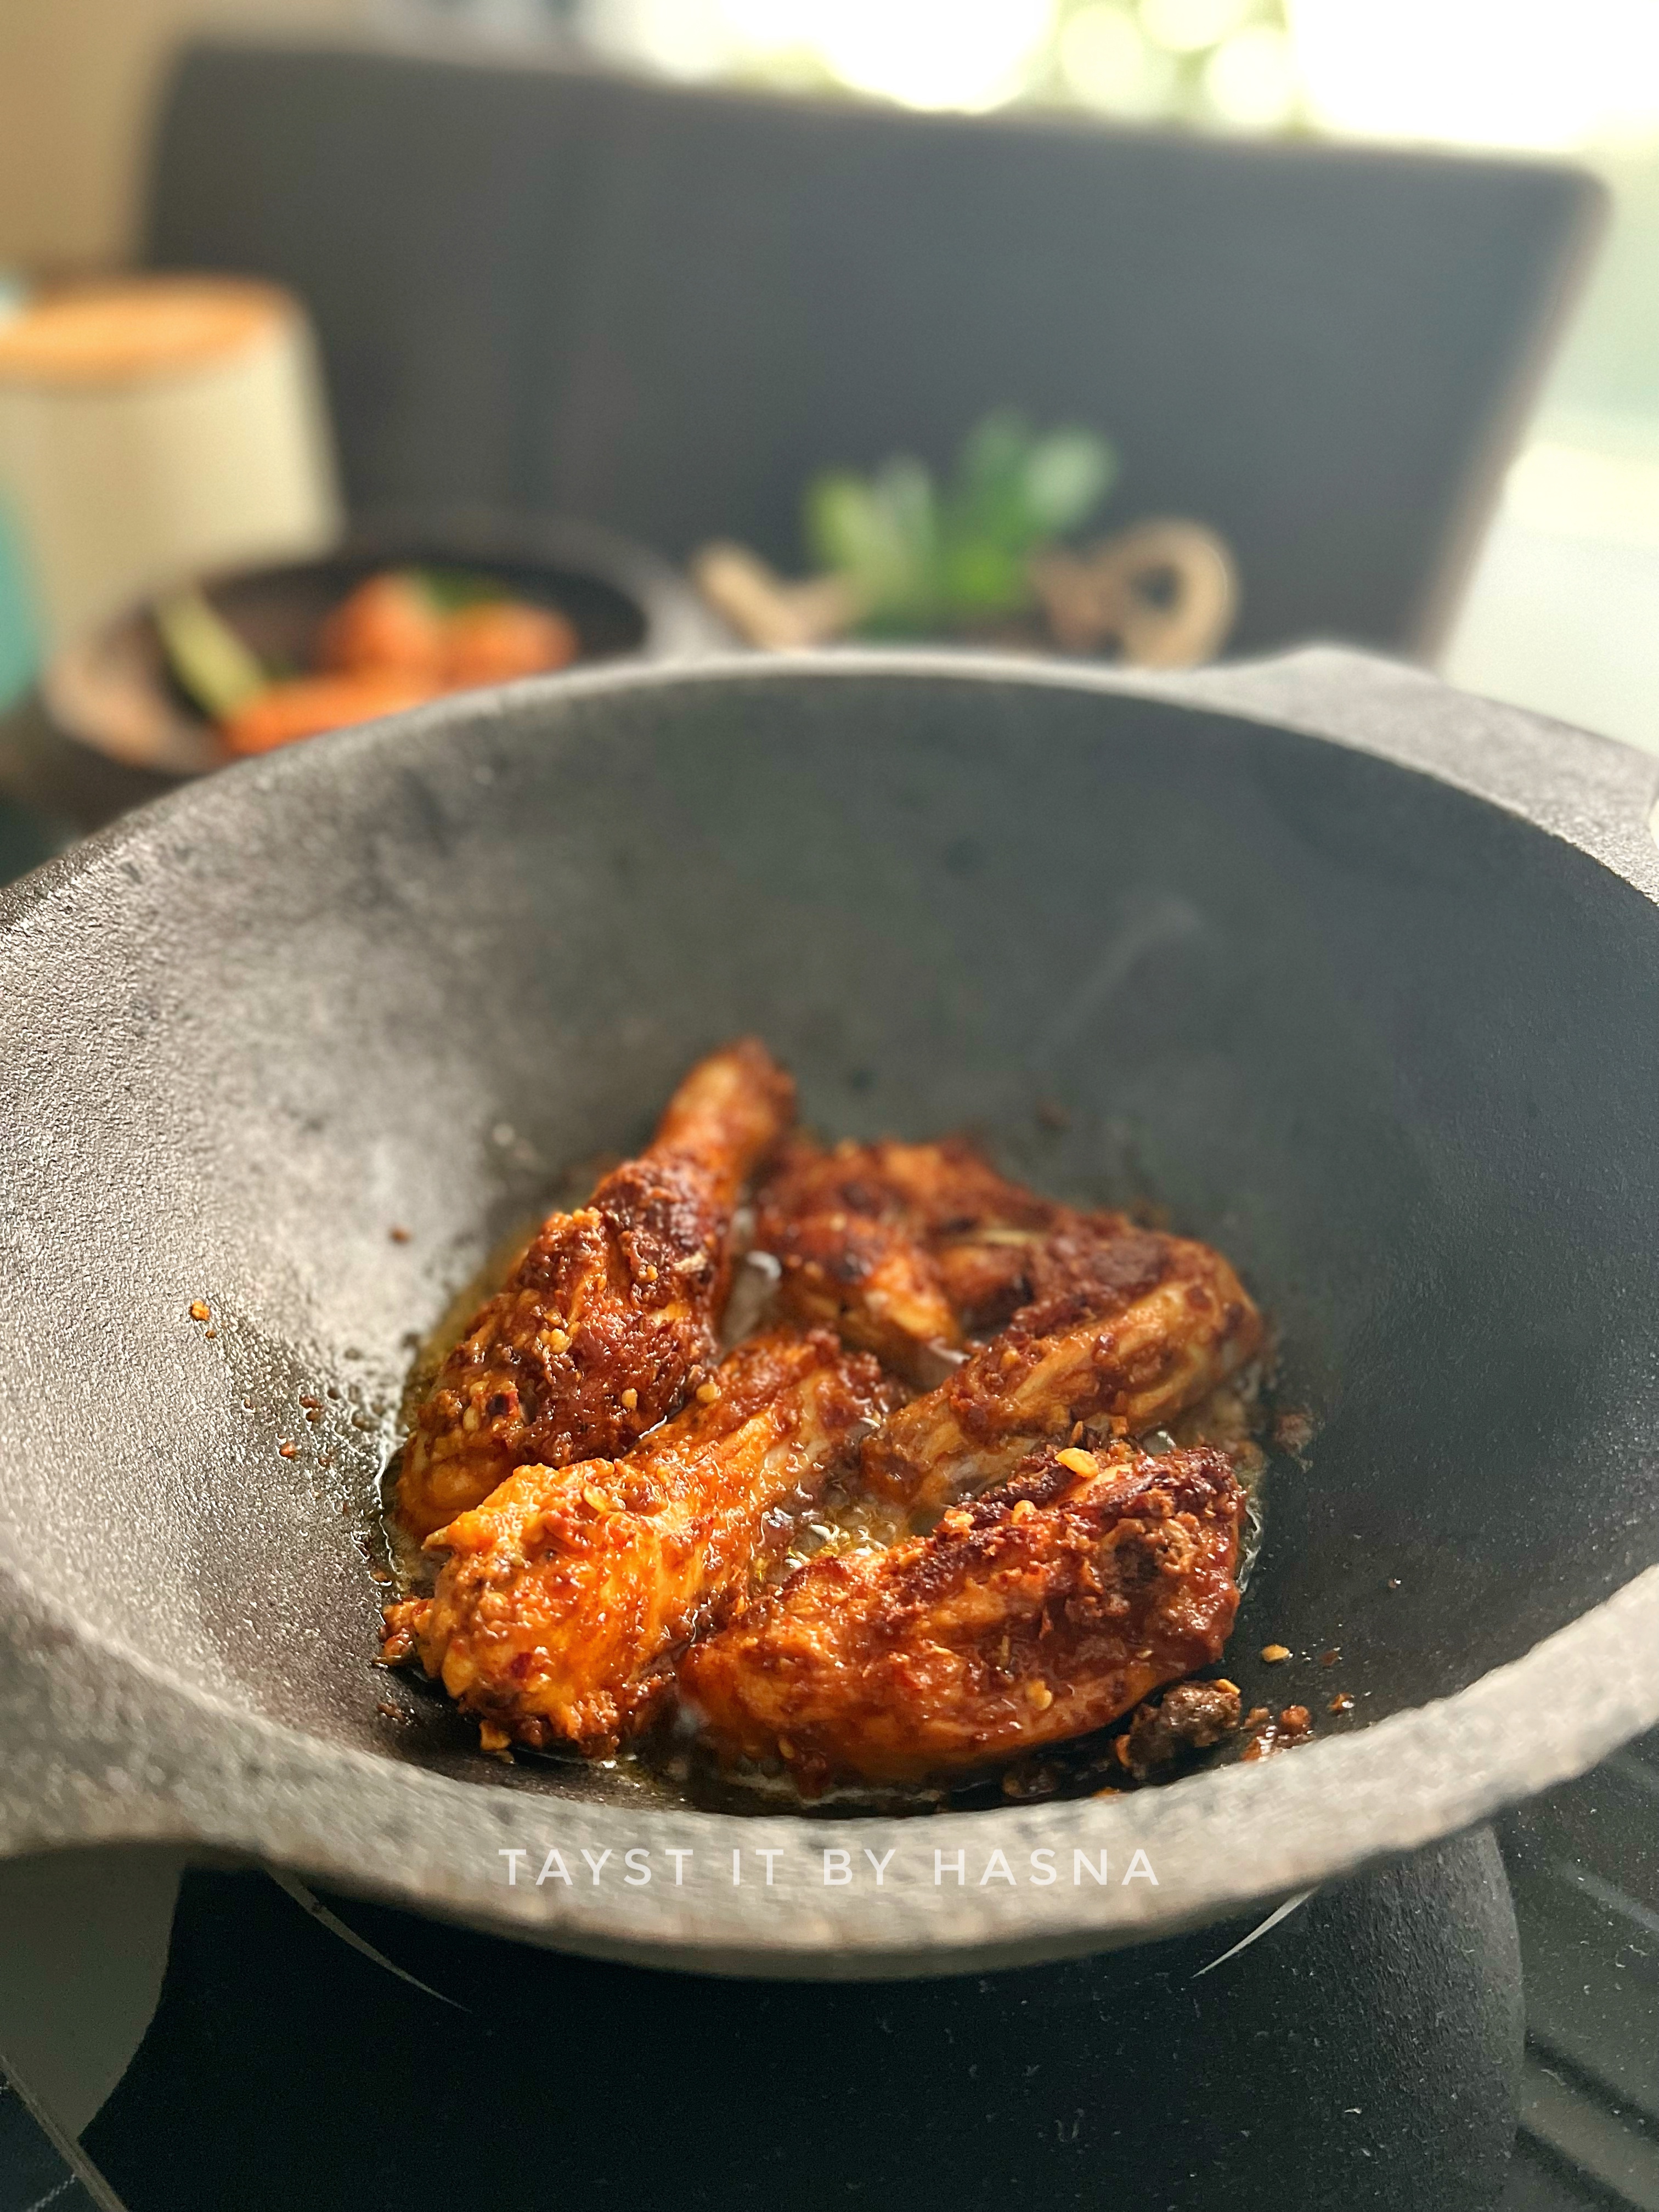
But I promise you, it tastes soo good, and do not forget to use coconut oil for frying. The chicken is usually deep fried, but I used a cast iron kadai, sent to me by @earthandethics, thanks to Faiza, may Allah bless her business abundantly, made the frying process so convenient with very less oil. I do not like using a lot of oil, especially coconut oil, as all the extra oil would go to waste. And I hate wasting anything. 

Also a tad bit of rice flour is added right before frying, this helps the coating on the chicken stay intact. Do try the recipe and let me know how you liked it! It's lip smacking good! 

Ingredients :

  • 400 gms Chicken pieces, preferably spring chicken
  • 10-12 Whole Dried Kashmir Chillies
  • 1 tsp Rock Salt 
  • 1 tsp Fennel seeds
  • 2-3 Garlic cloves
  • 1/4 inch Ginger
  • 1 tsp Rice Flour
  • 1 tbsp Lemon Juice
  • 1 tsp Red Chilli flakes (optional)
  • 1+1/2 tsp Kashmiri Red Chilli Powder
  • 1/4 tsp Turmeric powder
  • 2 sprigs Curry leaves
  • Coconut Oil, for frying
 

Instructions:

  1. Using a small mixer grinder/ a mortar and pestle, grind the whole Kashmiri Chillies with garlic, ginger, rock salt, fennel seeds, lemon juice and ground or pulse coarsly. To this mix, add the red chilli flakes. Reserve a tablespoon of the mix.


  2. Now to the cleaned chicken pieces, add turmeric powder, Kashmiri Chilli powder, Crushed chilli mix, and salt as required. Mix well, and rub the marinade all over the chicken and set aside for half hour or overnight.


  3. Add curry leaves and rice powder to the marinated chicken.

  4. In a deep kadai, pour coconut oil and fry for 8-10 minutes, both sides.
  5. Finally, when the last batch of the chicken is frying, in the last few minutes, add the reserved chilli mix and fry and fish out the chilli mix and add over the fried chicken pieces.

  6. Enjoy hot with ghee rice, roti, dal fry etc.

Do try this recipe and don't forget to share your experience/feedback with me here in the comments or feel free to send me a mail. Also, do tag me at #taystedit if you try out my recipes on Facebook, Instagram etc so that I can see when you make it. ♡♡♡♡

Signature Chicken Chukka


Let me tell you, chicken chukka was what I hated the most, until one day when I discovered my own recipe. The 'naadan' version includes a lot of onions sautéed and the chicken is cooked along with basic ingredients like ginger garlic paste, tomatoes and other basic ingredients used to prepare a chicken curry. I am not a fan of the Kerala Style Chicken Chukka.

Ever since I have ordered from kerala restaurants, I started hating this dish even more until one day I discovered Chicken Chukka is a Mangalorean dish and is nothing like that I have had all this while.

Oh boy the flavors are legit! I was wondering why haven't I ever tried the Mangalore style of preparing Chicken Chukka. Basically the fresh chicken, the sautéed spices that are ground, coconut and ghee is what takes the flavors of this dish to the next level. The warm notes of the dried red chilli is what brings out the kick in this dish. Even though the ingredients might be so basic but the flavor delivery is on point! My hubster was raving about how delicious it tasted all day the first time I tried it! 😍

Chicken Chukka aka Chicken Sukka being a semi gravy dish which brings aromatic flavors from the spices to bring out the flavors in the chicken, accompanied by fresh coconut and ghee, the combination is just mind blowing. The combo of coconut with chicken never goes out of fashion! Here is another of my favorite recipe - Payyoli Chicken. 

This semi gravy dish goes about with almost anything chappathi, dosa, paratta etc. To make things easier, this recipe isn't the authentic version, I tweaked it to make it instantly keeping in mind that the flavors stay intact. So let's go make some easy Homemade Chicken Chukka. 


Ingredients :

  • 900 gms Chicken (cut into small pieces) 
  • 3-4 dry red chilli
  • 1 tbsp Coriander seeds
  • 1 tsp Fenugreek seeds
  • 1 tsp cumin seeds
  • 1 tsp Garam masala / 2 cardamom, 2 cloves and a cinnamon stick. 
  • 4 tsp Kashmiri Red chilli powder 
  • 1/4 tsp Turmeric powder 
  • 1 tsp Garlic paste
  • 1 tsp Ginger paste
  • Salt 
  • 1 tbsp lemon juice
  • 1 medium Onion, roughly chopped
  • 1 tbsp ghee
  • 1 medium Onion, sliced
  • 1 small tomato, chopped
  • 4 tbsp grated coconut 
  • Curry leaves
  • 1/4 tsp Garam masala
  • 1 tsp ghee

Instructions:

  1. Marinate chicken with Kashmiri red chilli powder, Turmeric powder, ginger garlic paste, salt and lemon juice. 
  2. In a pan, dry roast the spices - dry chilli, Coriander seeds, Fenugreek seeds, cumin seeds, cloves, cardamom and cinnamon. 
  3. In a blender, drop in your roughly chopped onions, the roasted spices and grated coconut. 
  4. In a pan, add a tbsp of ghee and Sautee the sliced onions and some curry leaves witb some salt. 
  5. Once translucent, add in your chopped tomatoes and sauté. 
  6. Once the tomato has softened, add in your marinated chicken and allow to cook closed using a lid for 15 minutes, turning over occasionally. 
  7. Next add in your ground paste and cook for 5 minutes until the water oozed out from the chicken evaporates and ghee starts separating from the masala. 
  8. Check for salt and finally finish off with a sprinkle of Garam masala and drop in a tsp of ghee. 

Notes :

Please prepare this dish in ghee itself to help bring out the authentic flavors. 


Do try this recipe and don't forget to share your experience/feedback with me here in the comments or feel free to send me a mail. Also, do tag me at #taystedit if you try out my recipes on Facebook, Instagram etc so that I can see when you make it. ♡♡♡♡

American Chopsuey


American Chopsuey unlike its name is a fusion of  Indo Chinese cuisine. The dish and flavors have nothing with the American cuisine. Technically there is a confusion between American and Chinese Chopsuey. The one that I am about to share is actually a Chinese one but called American as thats how restaurants name it.

Now to come back to how it made. Noodles/ egg noodles are boiled and fried in a nest shape and a thick sauce is made of veggies and chicken which is poured over the fried noodles and finally a sunny side up egg is placed as a topping.

This is and has been one of my all-time favorite. I was a little girl when I first tried this dish in my life and this dish completely changed my life. My brother had his friends over at our place in Thalassery. For dinner he used to take them out to a restaurant at our place. And these friends were Arabs who always ordered so much that they ended up with a lot of leftovers. And my brother used to bring in the leftovers that they did not even touch. And one such dish was the American Chopsuey, that is the first time I ever tried it. Ever since I haven't had a better Chopsuey from anywhere else.

As my strength is to recreate dishes I simply wanted to recreate that amazing American Chopsuey and oh boy did I nail it! It's so easy to prepare yet so delicious. And anyone who knows me well knows that I am crazy fan of any food that is saucy. And this is on such dish. 😋
If you are an Indo Chinese lover you will definitely love this one.

This dish doesn't look quite filling, but this one dish is enough to fill your tummy. The assembled American Chopsuey is simply deconstructed by breaking and mixing the fried noodles, gravy and of course the egg, mix and mix and just consume hot. These are super delish.
Let's cook this amazing dish already!

Ingredients:


  • 1 pack Hakka noodles/egg noodles
  • 4 cloves garlic (chopped finely)
  • 1/4 of an Onion
  • 1 Maggi Chicken Cube
  • 1 green chilli (according to preference)
  • 5-6 tbsp Tomato Ketchup
  • 1 tbsp tomato paste
  • 3 tbsp Soy Sayce
  • 1 tbsp Sriracha sauce/ any hot sauce
  • 1 tsp vinegar
  • 1/2 tsp Black Pepper powder
  • 1/2 tsp white pepper powder
  • 200 gms Chicken breast, sliced into thin pieces
  • 2 eggs (for topping)
  • 1/2 Carrot, julienned
  • Small piece of Cabbage, julienned
  • 1/2 Capsicum, julienned
  • 6-8 Baby Corn, sliced into halves (optional)
  • 1 and 1/2 glass water
  • 2 tbsp Corn flour
  • Salt, as required
  • Vegetable oil


Instructions:


  1. Boil the noodles according to package instructions and pour cold water and set aside.
  2. Prepare and cut the veggies, mix them in a bowl and set aside. (use only half portion while cooking first)
  3. In a medium deep pan pour 2 inches of oil and fry the  noodles by placing the noodles in the shape of a nest. Cook for 5 minutes on medium-high and when the sides start browning flip the frying noodles using a spatula and fry for 2-3 minutes. Whilst the noodles are frying prepare your sauce.
  4. Take a pan and pour 2 tbsp of oil and Sautee the chopped garlic until raw smell disappears. Before the garlic starts browning add the sliced onions and sautee.
  5. Now add 1 chicken cube and allow it to melt and mix that in.
  6. Next add your chicken and salt and cook on high for 5 minutes.
  7. Next add your veggies and cook on high for 3-4 minutes. And add the green chilli, slit.
  8. Add in your sauce (ketchup, soy sauce, Sriracha/hot sauce, tomato paste).
  9. Next add your pepper powder (Black and white) mix well and add in more sauces if required.
  10. Now pour in 1/2 glass of water and mix well.
  11. While it bubbles add the rest of the earlier mixed veggies and cook on high for 2 minutes. (this helps to retain some crunch in the veggies)
  12. Make a corn flour slurry and pour into the gravy and mix vigorously until a thick gravy is formed.
  13. Finally in a small non stick pan, pour in some oil and crack an egg and cook for 3 minutes and set aside the sunny side up eggs.
  14. Now assemble them onto a deep dish. First place the fries nest-like noodles and pour the gravy on top and finally top it with a sunny side up egg. Garnish with spring onions or parsely (optional).


Notes :


  • The more the gravy sits, the thicker it gets. Keep that in mind whilst adding more corn flour slurry.
  • Adding the leftover veggies at the end helps to retain crunch in the veggies that is why we keep half the veggies aside and add them at the last which gives a crunchy impression.


Do try this recipe and don't forget to share your experience/feedback with me here in the comments or feel free to send me a mail. Also, do tag me at #taystedit if you try out my recipes on Facebook, Instagram etc so that I can see when you make it. ♡♡♡♡

Chicken Tikka Masala


Hi guys! I was least expecting to post this recipe here but Oh boy! Was I overwhelmed with joy to see the responses on the boomerang I posted on IG while making *Chicken Tikka Masala*? My DM was literally bombarded with recipe requests for the same! I was hesitant to share the recipe here as I did not capture or shoot the step by step cooking process, but I shall update the post the next time I prepare it. Like who doesn't love Chicken Tikka Masala? It is one of the most popular dishes from around the world. (maybe of course after butter chicken, teehee). No wonder it became popular for the flavors are divine leaving the tongue captivated.

A common confusion is the difference between Chicken Tikka Masala and Butter chicken as they are similar in preparation. Though Chicken Tikka Masala contains more spiciness while butter chicken is more on the sweeter buttery side.

Have you had that rice and chicken tikka masala combi from flights, the best part of flying on Emirates? The basmati rice and chicken tikka masala combination. Throwback to the good old days (when almost all flights served yummy and hot food). When I received all the recipe requests and I had some leftover Masala, I immediately made some basmati rice to go with it for lunch (and for the gram). It was so nostalgic. 😍😍😍


This dish is mostly prepared when in a mood for some North Indian dish and this was what happened yesterday when I was craving some Indian food and I was going blank on what to cook for dinner. So without a second thought, I convinced myself to prepare this and it was completely spontaneous! We normally prefer bone pieces of chicken unlike the usual boneless used for Chicken tikka. And to go with it I made this butter naan/tandoori roti which my hubsy was all praises of! In sha Allah (if Allah wills) will try to post the instant Naan recipe ASAP :)
Not to brag but he actually said it tasted as good as having from a restaurant. What else does a wife want, the approval of our husbands is what we all strive for. You won't believe if I said it wasn't a recipe I followed, nor did I refer anywhere, I felt like it and made it the way I wanted. I guarantee you everyone is going to love it!

Ingredients :

Chicken Tikka:

  • 600 gms Chicken (small cuts)
  • 2-3 tbsp Yogurt
  • 1 tsp Ginger garlic paste
  • 1/4 tsp Turmeric powder
  • 1 tsp Kashmiri Chilli powder
  • 2 tbsp Tandoori Chicken Powder (for substitute check notes)
  • Salt
  • 1/2 tsp lemon juice
  • Vegetable oil for frying


Gravy:

  • 1 medium onion chopped coarsely
  • 2 medium tomatoes chopped coarsely
  • 1 tsp Ginger garlic paste
  • 1/4 tsp Turmeric powder
  • 2-3 tsp Kashmiri Chilli powder
  • 1 tbsp Tandoori Masala powder, (or check notes for substitute)
  • 1 clove
  • 1 cardamom
  • 1/2 glass water
  • 1/2 tsp Cumin powder
  • 1/2 tsp dried fenugreek leaves
  • 2 tbsp fresh cream/ thick cream
  • 1 tbsp butter
  • Salt, to taste
  • Sugar, a pinch

Instructions:


  1. To begin with, heat oil in a Kadai and fry in the marinated chicken pieces in 2-3 batches without overcrowding for 15 minutes on medium-low turning over every 5 minutes.
  2. Next, in a pan/ skillet pour in the oil from the Kadai used for frying, about 2 - 3 tbsp.
  3. Add your dry spices, cardamom, and cloves into the oil and sauté for a minute and add in the chopped onion and sprinkle some salt and let it get translucent.
  4. Next, add in the ginger-garlic paste and sauté till the raw smell disappears and add in the chopped tomatoes. Close and cook for 2 minutes.
  5. Now add the powders - Turmeric, Chilli powder, tandoori masala powder, mix for a minute and pour in the water and let it boil for a couple of minutes and set aside.
  6. Once cooled, grind in a mixer and strain to get the residual smooth paste.
  7. Next in a pan /skillet add the butter and add in 2 tsp of Chilli powder to the butter for that rich color.
  8. Now add the strained paste to the butter and once boiled add in the cream and salt.
  9. Depending on the consistency pour in water if required.
  10. Add in the dried Fenugreek leaves by placing it in your palm and rubbing your hands to make it into powder and add in a pinch of sugar to balance out the flavours.
  11. Finally, add your fried chicken tikka to the Masala and let it boil for 5 minutes on simmer. Ta-da! Your Chicken Tikka Masala is ready to devour. 🤤🤤


Notes-

  1. If you do not have tandoori chicken Masala feel free to use 1 tsp Coriander powder, 1 tsp chili powder, 1/2 tsp pepper powder, 1/2 tsp garam masala for the same.
  2. Even though I cooked it spontaneously I had cleaned and marinated the chicken with salt earlier.
  3. The oil is going to look burnt as the yogurt in the marination will turn black while frying, so do not pour in too much oil for frying.
  4. For that charred look, I fried the chicken on a high flame in the last 2 minutes.


Do try this recipe and don't forget to share your experience/feedback with me here in the comments or feel free to send me a mail. Also, do tag me at #taystedit if you try out my recipes on Facebook, Instagram etc so that I can see when you make it. ♡♡♡♡

Payyoli Chicken Fry (Calicut Paragon inspired) 


Haven't you tried the combination of Chicken with grated coconut yet? Sounds strange? Whether your answer is a yes or a no, this is one insane combination that defines Kerala cuisine. Payyoli Chicken is very commonly known among the mallu hommies as it is a popular dish of the well-known restaurant Calicut Paragon. It simply is scrumptious. Though the recipe is super simple, the touch of spicy fried coconut takes the chicken fry to a next level.

This is the perfect recipe if you are on the lookout to try some mallu style chicken fry. It was indeed a triumph when I made this for the first time and from then on has been a family favorite. Whenever I have guests over for dinner or lunch I make this chicken fry as it is super easy and delicious 😋.

Payyoli chicken can be served with any Kerala style curry, and chappati or simply as a starter. The chicken is preferably marinated twice for the marination to get absorbed well, where the rice powder is skipped and added right before you fry the chicken so that the chicken remains crispy from the outside and juicy from the inside. The chicken is first marinated in spicy marination and fried, which is then topped up with grated spicy coconut that is roasted in an iron Kadai (wok) which gives immense flavor dimension to the chicken fry. 

You have to be very careful when roasting the coconut, watch over very closely, the coconut may look like it's still not done, but all of a sudden it may change color and burn. The whole point is that the shredded coconut has to be crispy, fiery and not burnt with a beautiful dark reddish color. 

We begin the recipe by soaking the dried red chilies in hot water for 15 minutes, preferably Kashmir dried red whole chilies. Since I did not have the Kashmiri variety I used the normal dried red chillies. Also if you do not have any type of dried chilies at home you may use chili powder but the zing comes from the ground dried red chilies paste. Let's fry the chicken and top it with the crunchy roasted coconut. Let's get started!


Ingredients :

For the chicken marinade:

  • 700 gms bone-in chicken (small cut pieces)
  • 8 dried red chillies soaked in hot water for 15 minutes and made into paste
  • 2 tsp gg paste
  • 1 tsp meat masala/chicken Masala powder
  • 1/4 tsp Turmeric powder
  • 1 tsp Kashmiri Red chilli powder
  • 1 tbsp lemon juice
  • 1/2 tsp red chilli flakes (optional)
  • 2 tbsp cornflour
  • 1 tbsp maida/ all-purpose flour
  • Salt as required
  • 3/4 tbsp rice flour


For roasting coconut:


  • Coconut oil
  • Salt as required
  • 4-5 tbsp grated coconut
  • 3-4 green chillies (slit)
  • Curry leaves
  • 1-2 tsp of red chilli paste prepared earlier


Instructions :

  1. Grind the soaked red chilies to a paste.
  2. Marinate the cleaned, bone-in chicken pieces with the items under 'for the chicken marinade' title for at least half an hour to 2 hours.

  3. Reserve a couple of teaspoons of the chili paste for the coconut roast. The rest of the paste may be added to the chicken marinade.
  4. Right before you fry the chicken, mix in the rice flour and fry or med-high heat.
  5. Fry for 4 minutes each side for a total of 15-18 minutes or until well done and slightly crispy on the outside.
    Drain the chicken on a tissue paper.
  6. Grind the coconut with the reserved chilli paste and salt and set aside.
  7. Set aside some of the fried oil and fry the green chillies, and curry leaves in the same Kadai or pan.
  8. Next, fry the coconut chilli paste until crispy roasted. Be careful not to burn it.


  9. Scoop the fried coconut from the oil and transfer it onto a tissue paper.
  10. Serve your spicy chicken topped with your crispy roasted coconut, green chillies and curry leaves.


Notes:

  • Keep a close watch when roasting the coconut, thus one step goes wrong and the whole dish isn't worth it.
  • Use coconut oil for frying the chicken for bringing out its 'naadan' flavors.
  • Always remember while frying chicken do not overcrowd the Kadai or pan, it makes the chicken soggy and the chicken might not get done from the inside.
  • Another tip for the coating to stay in place is to let the chicken cook at least for 3-4 minutes and flip so that the coating cooks and does not stick to the Kadai or pan. 
Do try this recipe and don't forget to share your experience/feedback with me here in the comments or feel free to send me a mail. Also, do tag me at #taystedit if you try out my recipes on Facebook, Instagram etc so that I can see when you make it. ♡♡♡♡
Older Posts

Search This Blog

My name is Hasna Haneef, a mommy to a toddler, hailing from Thalassery, Kerala. Welcome to my humble abode on the Internet; wherein I share all my recipes and experiments. I am glad to have you on board!

TRENDING POSTS

  • Emirati Chebab
  • Kerala Style Squid Roast
  • Chicken Steak with Creamy Mushroom Sauce
  • Kethel's Chicken
  • Kerala Beef Fry/ Nadan beef dry fry
  • Yemeni Mutton Haneeth

About Me

May peace be with you!

Welcome to my blog.

I am delighted to have you on board. My name is Hasna Haneef, a mommy to a toddler, hailing from Thalassery, Kerala. My homeplace being Dubai, as I am born and brought up here and I am very influenced by the lifestyle and the variety of authentic cuisines I get to try from here, which has made me try anything that comes across me
, click here →

Stay Connected!

Join Our Madness!

Join with Thousands Of Subscribers ! Get Our Latest Recipes Delivered to Your email Inbox!

Powered by follow.it
  • Home
  • About Me
  • Recipes

    • Main Course
    • Desserts
    • Snacks

    Uncategorized

    • Chicken
    • Meat
    • Vegetarian
    • Rice
    • Malabar Food
    • Baking
    • Breakfasts
    • Snacks
    • Drinks
    • Pasta
    • Fish
    • Soups
    • Desserts
  • Contact Me

Featured Post

Triple Chocolate Hazelnut Skillet Cookie

Blog Archive

  • ▼  2026 (2)
    • ▼  May (1)
      • Breakfast Waffles
    • ►  April (1)
  • ►  2025 (4)
    • ►  April (2)
    • ►  March (1)
    • ►  February (1)
  • ►  2024 (36)
    • ►  October (4)
    • ►  September (5)
    • ►  July (1)
    • ►  June (2)
    • ►  May (4)
    • ►  April (3)
    • ►  March (10)
    • ►  January (7)
  • ►  2023 (47)
    • ►  December (3)
    • ►  September (2)
    • ►  August (6)
    • ►  July (6)
    • ►  June (9)
    • ►  May (4)
    • ►  April (5)
    • ►  March (6)
    • ►  February (3)
    • ►  January (3)
  • ►  2022 (69)
    • ►  November (4)
    • ►  October (6)
    • ►  September (7)
    • ►  August (9)
    • ►  July (12)
    • ►  June (5)
    • ►  May (5)
    • ►  April (12)
    • ►  March (4)
    • ►  February (2)
    • ►  January (3)
  • ►  2021 (24)
    • ►  November (1)
    • ►  October (2)
    • ►  July (1)
    • ►  June (4)
    • ►  May (6)
    • ►  April (4)
    • ►  February (4)
    • ►  January (2)
  • ►  2020 (82)
    • ►  December (5)
    • ►  November (6)
    • ►  October (4)
    • ►  September (2)
    • ►  August (5)
    • ►  July (10)
    • ►  June (10)
    • ►  May (13)
    • ►  April (12)
    • ►  March (8)
    • ►  February (4)
    • ►  January (3)
  • ►  2019 (22)
    • ►  December (1)
    • ►  November (2)
    • ►  October (6)
    • ►  September (1)
    • ►  August (1)
    • ►  February (3)
    • ►  January (8)
  • ►  2018 (15)
    • ►  December (4)
    • ►  November (6)
    • ►  October (3)
    • ►  September (2)

Subscribe Us

Labels

Bake Biscuits Breakfast Brown rice Burger Cheese Chocolate Dal Egg Emirati Fish Iftar Indonesian Japanese Jeerakashala rice Kerala Keto Kuwait food Lunch Milk Mutton Thai food UAE food afghan cuisine arabic beef biryani bread burnt cheesecake cake chicken cream dessert dinner greek healthy indo chinese lamb malabar prawns pudding puffs quick dinner ideas recipe refreshing drink rice salad sandwich stir fry vegetables vegetarian veggies yemeni

Contact Form


POPULAR POSTS AND PAGES

Emirati Chebab

Emirati Chebab

June 01, 2023
Chicken Steak with Creamy Mushroom Sauce

Chicken Steak with Creamy Mushroom Sauce

November 05, 2018
Kerala Style Squid Roast

Kerala Style Squid Roast

June 18, 2020
Kethel's Chicken

Kethel's Chicken

August 25, 2022
Signature Chicken Chukka

Signature Chicken Chukka

August 11, 2020

Pages

  • Home
  • About Me
  • Privacy Policy
  • Contact Me

Copywrite © 2023 TermsFeed®. All rights reserved.

Created By Sora Templates | Distributed By Gooyaabi Templates

Back to top